7 Furnace Repair Tips Every Homeowner Should Know
There’s nothing worse than waking up to a cold home in the middle of the night. A properly functioning heating system is essential for both comfort and safety when winter temperatures drop.
Understanding basic furnace maintenance and troubleshooting can save you money on service calls and prevent those middle-of-the-night heating emergencies. With a little DIY experience, you can diagnose and fix common furnace problems yourself.
This comprehensive guide will walk you through seven essential repair tips that every homeowner should know to keep their heating system running efficiently.
Key Takeaways
- Learn to troubleshoot common furnace issues.
- Understand the importance of regular furnace maintenance.
- Discover how to improve your home’s heating efficiency.
- Know when to call in professional help for complex problems.
- Save money on service calls with DIY repair tips.
Understanding Your Home Heating System
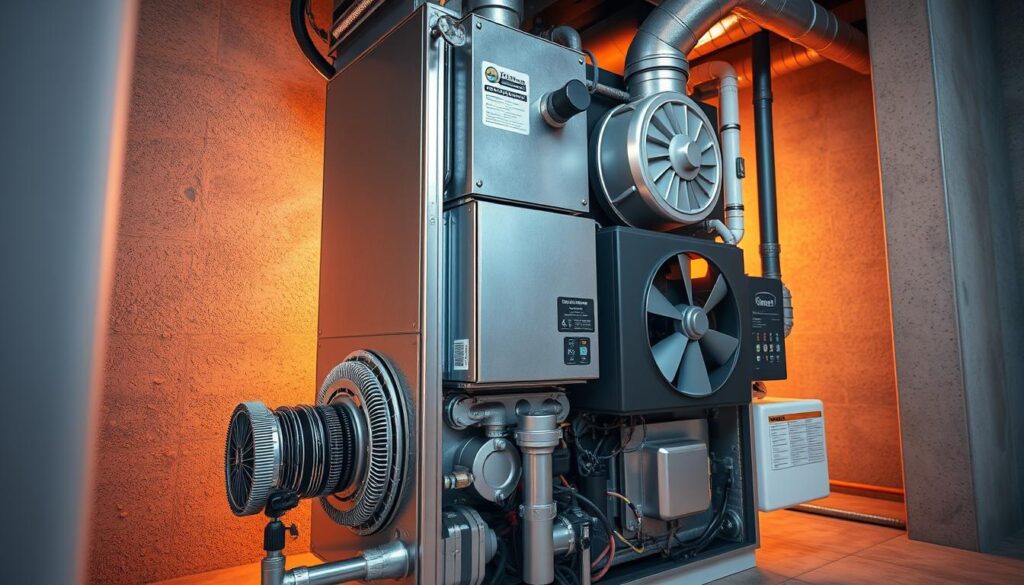
To maintain your furnace effectively, it’s essential to grasp the basics of your home heating system. Understanding how your furnace works is crucial for identifying potential issues before they become major problems.
How Gas and Electric Furnaces Work
Gas furnaces operate by igniting natural gas or propane in a combustion chamber, while electric furnaces use heating elements to warm the air that passes through the system. The process involves several key components working together to provide warmth to your home.
Common Furnace Components You Should Know
The heat exchanger is a critical component that transfers heat from combustion gases to the air that circulates through your home without allowing the gases themselves to enter your living space. Other important components include the blower motor, thermostat, ignition system, and air filter.
| Component | Function |
|---|---|
| Blower Motor | Circulates air through the system |
| Thermostat | Regulates temperature |
| Ignition System | Ignites the gas in gas furnaces |
Safety Precautions Before Attempting DIY Repairs
Before attempting any DIY furnace repairs, always turn off both the electrical power to the gas furnace at the circuit breaker and the gas supply valve. Ensure proper ventilation when working on your heating system to avoid safety risks, such as carbon monoxide poisoning.
Familiarize yourself with your specific furnace model by reviewing the owner’s manual, which often contains troubleshooting guides and maintenance schedules.
Essential Furnace Repair Tip #1: Check and Replace Air Filters Regularly
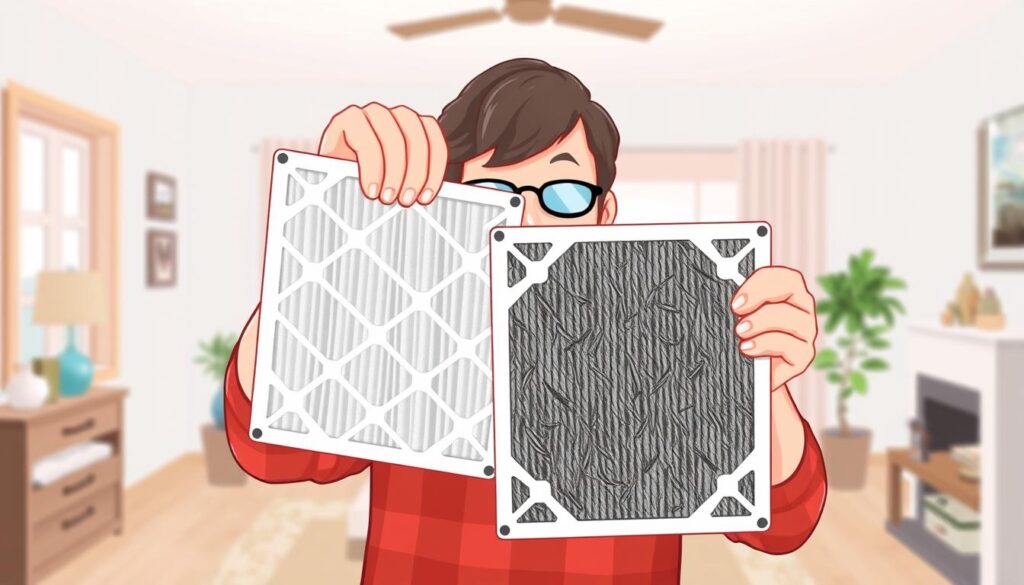
One of the simplest yet most effective ways to maintain your furnace is by regularly checking and replacing its air filter. This simple task can significantly impact your furnace’s performance and efficiency.
Signs Your Furnace Filter Needs Replacement
A dirty or clogged air filter is one of the most common causes of furnace problems and reduced efficiency. To determine if your filter needs replacement, perform a visual inspection. Hold the filter up to a light source; if you can’t see through it, it’s time for a new one.
Other signs that indicate the need for a replacement include increased energy bills, reduced airflow from vents, and visible dust or dirt accumulation on the filter.
Step-by-Step Filter Replacement Guide
Replacing your furnace filter is a straightforward process. First, ensure you turn off the furnace to avoid any accidents or complications. Next, locate the filter housing, usually found in the return air duct or near the furnace.
Note the direction of airflow indicated on the filter frame and ensure the new filter is installed correctly. It’s also crucial to select a filter of the correct size to prevent any gaps or improper fit.
How Dirty Filters Impact Furnace Performance and Efficiency
Dirty filters restrict airflow, forcing your furnace to work harder and consume more energy. This not only increases your utility bills but can also lead to potential overheating of the heat exchanger, causing more severe problems.
Regularly replacing your furnace filter improves not only the furnace’s performance but also enhances indoor air quality by removing dust, allergens, and other airborne particles. High-efficiency filters can capture smaller particles but may restrict airflow more than standard filters, so it’s essential to follow the manufacturer’s recommendations for your specific furnace model.
By checking and replacing your air filters regularly, you can prevent common furnace problems, improve efficiency, and maintain good indoor air quality. This simple maintenance task is a crucial step in ensuring your furnace operates effectively throughout the heating season.
Essential Furnace Repair Tip #2: Troubleshoot Thermostat Issues
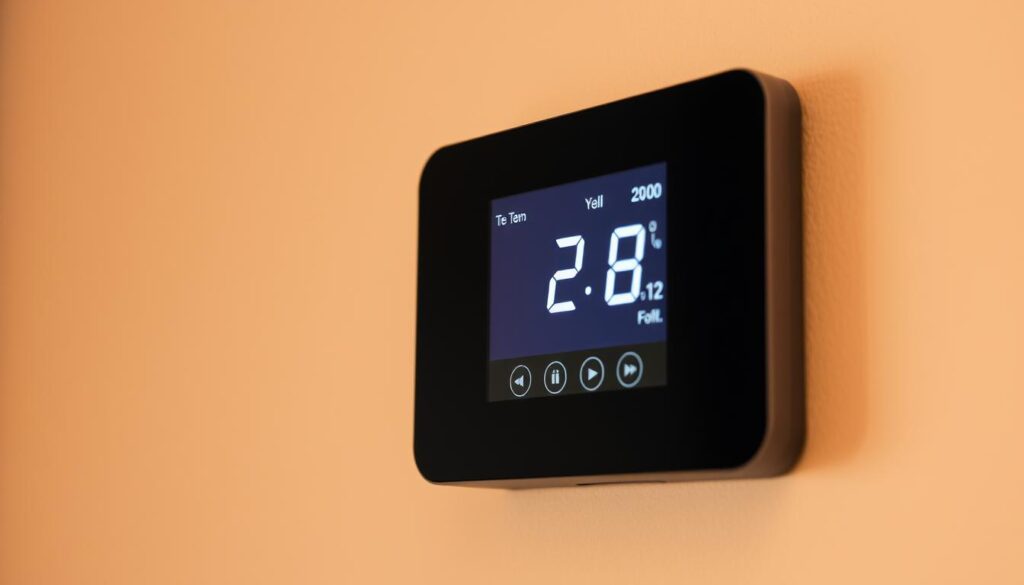
One of the simplest furnace repair tips is to check your thermostat settings and functionality. Many homeowners overlook their thermostat when troubleshooting furnace issues, but it’s often the key to resolving the problem.
Verifying Thermostat Settings and Power
First, ensure that your thermostat is set to “heat” mode and that the temperature is set at least five degrees above the current room temperature. This simple check can resolve many issues, as it triggers the heating cycle. Additionally, if your thermostat is battery-powered, check the batteries and replace them if necessary. Weak or dead batteries are a common cause of malfunction.
Always verify that your thermostat is set correctly and that the batteries are fresh. For thermostats that run on batteries, it’s a good practice to change them annually or when the low battery indicator appears.
Cleaning Thermostat Components
Dust and dirt can interfere with your thermostat’s sensors and contacts. To clean the thermostat, first turn off the power to the heating system. Then, gently clean the interior components with a soft brush or compressed air. This simple maintenance task can improve your thermostat’s accuracy and responsiveness.
When to Replace Your Thermostat
If your thermostat is outdated or not functioning properly even after cleaning and checking the batteries, it might be time to consider replacing it. Upgrading to a programmable or smart thermostat can improve comfort and reduce energy costs by automatically adjusting temperatures. When troubleshooting, also check that all wiring connections to the thermostat are secure and free from corrosion or damage.
By following these steps, you can identify and potentially fix thermostat-related issues that might be affecting your furnace’s performance.
Essential Furnace Repair Tip #3: Inspect and Clean the Flame Sensor
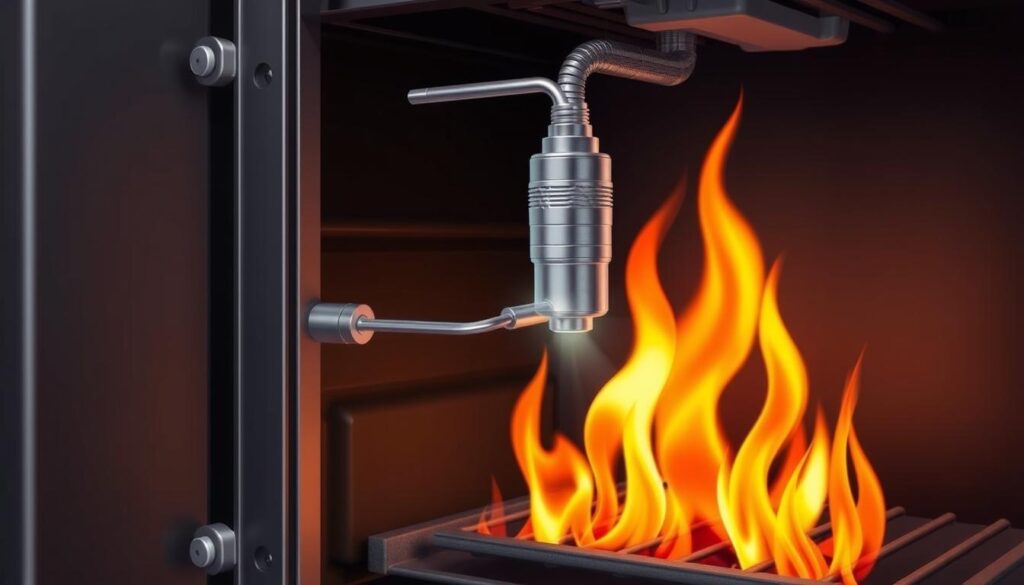
A crucial aspect of furnace maintenance involves inspecting and cleaning the flame sensor to ensure your heating system operates safely and efficiently. The flame sensor is a critical safety component that detects whether the gas burners have ignited properly. When dirty, it can cause your furnace to shut down shortly after starting.
Identifying a Dirty Flame Sensor
Signs of a dirty flame sensor include your furnace starting but shutting off after a few seconds, or going through multiple start-up cycles without staying on. If you notice these issues, it’s likely that your flame sensor needs cleaning.
Step-by-Step Cleaning Instructions
To clean the flame sensor, first turn off power to the furnace at the circuit breaker. Then, remove the sensor (usually a metal rod) from its mounting bracket using a screwdriver. Gently clean the metal rod portion of the flame sensor using fine grit sandpaper, steel wool, or an emery cloth – avoid touching the ceramic portion.
After cleaning, carefully reinstall the flame sensor in exactly the same position, ensuring it’s properly aligned with the furnace flame.
How Often to Perform This Maintenance
This maintenance task should typically be performed annually as part of regular furnace maintenance, or more frequently if you notice short-cycling issues. Regular cleaning can prevent unnecessary service calls and ensure your furnace operates safely and efficiently throughout the heating season.
By incorporating flame sensor maintenance into your annual routine, you can help extend the life of your furnace and maintain its efficiency. A clean flame sensor is essential for the safe operation of your gas furnace, making this a crucial repair tip for homeowners.
Essential Furnace Repair Tip #4: Check the Pilot Light and Ignition System
The pilot light in your gas furnace is more than just a small flame; it’s a vital indicator of your heating system’s health. For homeowners with gas furnaces, checking the pilot light is a crucial maintenance task that can prevent serious issues. To examine your pilot light, you’ll need to remove the furnace cover panel, revealing the pilot light and the burner assembly.
Understanding Pilot Light Colors and What They Mean
A properly functioning pilot light should burn with a steady blue flame. If the flame is yellow, orange, or flickering, it indicates problems with the gas mixture or ventilation that require attention. A blue flame signifies that the gas is burning efficiently and safely.
How to Safely Relight a Pilot Light
If your pilot light has gone out, follow the manufacturer’s instructions for relighting. Typically, this involves turning the gas valve to “pilot,” pressing the reset button, and using a long lighter to ignite the gas. Always wait at least 5 minutes after turning off the gas before attempting to relight a pilot light to allow any accumulated gas to dissipate. If you smell gas during this process, leave your home immediately and call your gas company from a safe location, or check this resource for more information on HVAC troubleshooting.
Troubleshooting Electronic Ignition Problems
Newer furnaces often use electronic ignition systems instead of standing pilot lights. These can experience issues with ignitors, flame sensors, or control boards. Draft issues can repeatedly extinguish pilot lights; check for proper ventilation and ensure the furnace area is free from unusual drafts. Persistent pilot light problems may indicate more serious issues with the gas valve or thermocouple that require professional repair.
| Pilot Light Color | Indication | Action Required |
|---|---|---|
| Blue | Properly functioning | None |
| Yellow or Orange | Problem with gas mixture or ventilation | Check ventilation and gas supply |
| Flickering | Draft issues or dirty burner | Check for drafts and clean burner |
Essential Furnace Repair Tip #5: Ensure Proper Airflow Throughout Your Home
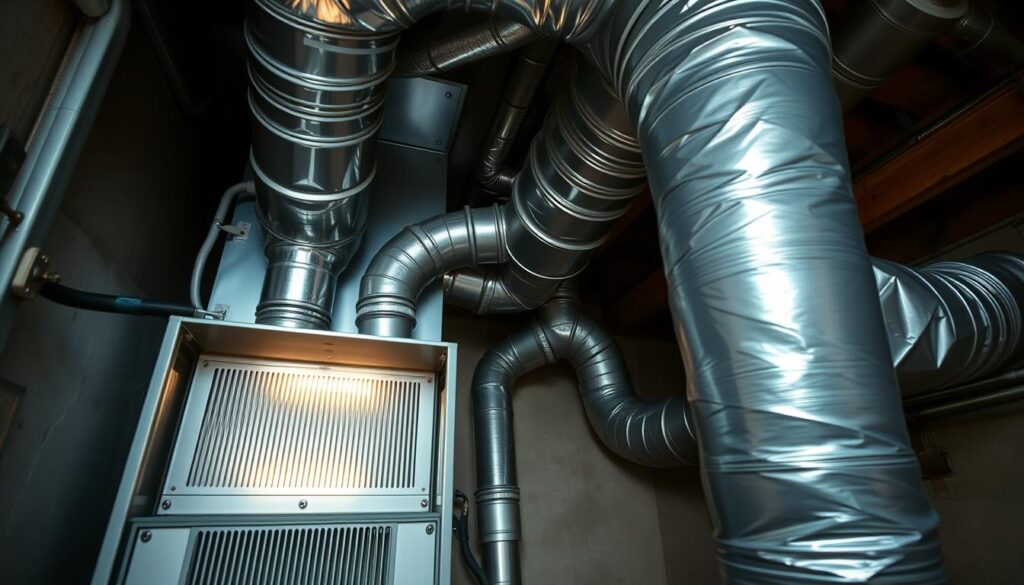
One of the most effective ways to optimize your furnace’s performance is by guaranteeing proper airflow throughout your home. Restricted airflow is a common cause of furnace problems and uneven heating throughout your home, often resulting from blocked vents or dirty ductwork.
Checking and Cleaning Vents and Registers
Regularly inspect all supply and return vents in your home to ensure they’re fully open and not blocked by furniture, rugs, curtains, or other objects. Remove vent covers periodically to vacuum away dust and debris that can accumulate and restrict airflow through your heating system.
Importance of Unobstructed Return Air
Return air vents are particularly important as they pull air back to the furnace, and blocking them forces your system to work harder and less efficiently. Keep these larger vents unobstructed to maintain proper airflow.
Addressing Uneven Heating Issues
To address uneven heating issues, consider having your ductwork professionally cleaned every 3-5 years, especially if you have pets, allergies, or notice visible dust coming from vents. Additionally, balancing dampers in your ductwork can help direct more warm air to colder rooms. Keeping interior doors open when possible also allows for proper air circulation throughout your home.
- Regular maintenance of vents and ductwork is crucial for efficient furnace operation.
- Unobstructed return air is vital for the overall performance of your heating system.
- Proper airflow helps in maintaining consistent temperatures throughout your home.
Essential Furnace Repair Tip #6: Inspect and Clean Blower Components
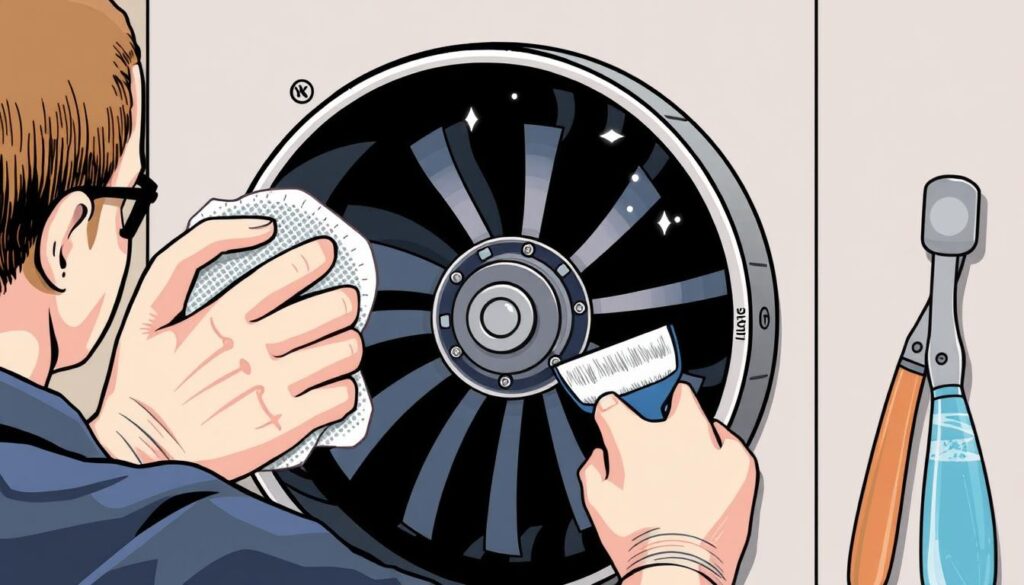
To keep your furnace running smoothly, it’s essential to inspect and clean its blower components regularly. The blower motor is responsible for circulating heated air throughout your home, making it a critical component of your furnace system.
Accessing the Blower Assembly Safely
Before you start cleaning, ensure your safety by turning off the power to the furnace at the circuit breaker. This prevents any accidental start-ups or electrical shocks. Once the power is off, you can safely access the blower assembly by removing the access panel.
Cleaning Blower Components
Dust and debris can accumulate on the blower components, especially during periods of non-use, reducing efficiency and potentially causing overheating. Use a vacuum with a brush attachment to gently remove dust from the blower wheel, motor, and surrounding area. This simple maintenance task can significantly improve your furnace’s performance.
Lubricating Moving Parts When Necessary
Some older blower motors have oil ports that require periodic lubrication. Check your owner’s manual to determine if your model needs this maintenance. If lubrication is required, use only a few drops of SAE 20 non-detergent motor oil in each port, being careful not to over-oil. Regular lubrication can extend the life of your furnace.
It’s also important to listen for unusual noises when the blower operates. Squealing may indicate worn bearings, while scraping sounds could mean the blower wheel is contacting the housing. Addressing these issues promptly can prevent more costly repairs down the line.
Essential Furnace Repair Tip #7: Check Electrical Connections and Components
To ensure your furnace operates efficiently, it’s essential to inspect its electrical connections and components regularly. Electrical issues are a common cause of furnace problems, and checking these connections should be part of your regular maintenance routine.
Inspecting the Power Switch and Circuit Breaker
First, verify that the furnace power switch, typically mounted on or near the furnace, is in the “on” position. Then, check your electrical panel for tripped circuit breakers or blown fuses related to your furnace. Reset breakers by flipping them fully off before turning back on.
Examining Wiring for Damage
Inspect visible wiring for signs of damage, fraying, or burnt connections, which can indicate electrical problems that need immediate attention. Any repair involving internal wiring should be handled by a qualified HVAC technician.
Testing the Limit Switch Functionality
The limit switch is a safety device that shuts down the furnace if it overheats. A malfunctioning limit switch can cause the furnace to short-cycle or not produce heat. If your blower runs continuously but no heat is produced, this often indicates a problem with the limit switch that may require replacement.
| Component | Issue | Solution |
|---|---|---|
| Power Switch | Off or faulty | Check and turn on or replace |
| Circuit Breaker | Tripped | Reset |
| Wiring | Damaged or frayed | Inspect and repair/replace |
| Limit Switch | Malfunctioning | Test and replace if necessary |
Regularly checking electrical connections and components can help prevent furnace problems. If you’re unsure about any aspect of this process, consider consulting a professional HVAC technician.
Preventative Furnace Maintenance Calendar
By creating a preventative maintenance calendar, you can ensure your furnace operates effectively throughout the year. A well-planned maintenance schedule helps prevent minor issues from becoming major problems, reducing the need for costly repairs and extending the life of your heating system.
Monthly Tasks
To keep your furnace running smoothly, perform the following tasks monthly:
- Check and replace air filters as needed to ensure proper airflow and efficiency.
- Listen for unusual noises that could indicate potential issues with your furnace.
- Ensure all vents and registers remain unobstructed to maintain optimal system performance.
Seasonal Maintenance
Before winter begins, conduct a more thorough inspection of your furnace system. This includes checking thermostat operation, cleaning vents and registers, and inspecting the area around your furnace for any signs of wear or damage.
Mid-winter maintenance should focus on monitoring system performance and addressing any efficiency issues before they become major problems.
End-of-season maintenance in spring should include a thorough cleaning of components that have accumulated dust and debris during the heating season.
Annual Professional Inspection
Schedule a professional HVAC inspection and tune-up annually, ideally before the heating season begins. This proactive approach helps catch potential problems early, ensuring your furnace operates safely and efficiently.
Professional maintenance typically includes tasks beyond the scope of DIY maintenance, such as checking gas pressure, analyzing combustion efficiency, and inspecting heat exchangers for cracks.
Recognizing Furnace Sounds and What They Indicate
Understanding the sounds your furnace makes is crucial for identifying potential issues before they become major problems. Your furnace, like any other mechanical device, produces various sounds during operation. While some noises are normal, others can indicateproblemsthat require immediate attention.
Normal Operating Sounds vs. Warning Noises
Normal furnace sounds typically include the gentle whoosh of air movement, the hum of theblowermotor, and occasional clicks as metal expands and contracts with temperature changes. However, certain sounds can signal potential issues. For instance, a loud bang or pop when the furnace starts up could indicate delayed ignition ofgas, which can be dangerous and should be addressed promptly.
Diagnosing Banging, Scraping, and Whistling Sounds
Different noises can indicate variousproblems. Scraping or metal-on-metal sounds often indicate issues with theblowerwheel or motor bearings that require immediate attention to prevent further damage. Whistling or high-pitched sounds usually point to air leaks in the ductwork or a severely clogged air filter restricting airflow. A rumbling noise that continues after the furnace starts may indicate dirty burners orproblemswith thegasvalve or heat exchanger.
| Sound Type | Possible Cause | Recommended Action |
|---|---|---|
| Loud Bang or Pop | Delayed ignition of gas | Address promptly, consider professional help |
| Scraping or Metal-on-Metal | Issues with blower wheel or motor bearings | Immediate attention required |
| Whistling or High-Pitched | Air leaks in ductwork or clogged air filter | Inspect and clean/replace air filter, seal ductwork leaks |
When Unusual Sounds Require Professional Attention
Any new or unusual sound that persists should be evaluated by a professional, especially if accompanied by othersignsof furnaceproblemslike reducedheatoutput or short cycling. If you’re unsure about the source or implications of a particular noise, it’s always best to err on the side of caution and consult a professional.
When to Call a Professional for Your Furnace Repair Tips
Furnace issues can be complex, and knowing when to seek professional help is crucial for safety and efficiency. While DIY furnace repair tips can be helpful, there are situations where expert assistance is necessary to resolve problems effectively.
Certain issues require the attention of a qualified HVAC technician, such as a gas leak, which is indicated by the smell of gas. In such cases, immediate action is necessary to ensure safety. Additionally, problems with the heat exchanger should be handled by professionals, as damage can lead to carbon monoxide leaks.
Other signs that you need professional help include:
- Repeatedly tripped circuit breakers or blown fuses, indicating an electrical issue.
- A furnace that fails to produce heat despite troubleshooting efforts.
- Unusual noises or yellow flames in a gas furnace, suggesting a potential problem.
Regular furnace maintenance is also essential to ensure your heating system operates safely and efficiently, especially during the cold winter months. A professional can diagnose and repair complex issues, providing peace of mind and potentially preventing costly repairs down the line.
By recognizing the signs that indicate the need for professional assistance, you can ensure your furnace is repaired safely and effectively, maintaining a warm and comfortable home environment.

