How to Clean Your HVAC Evaporator Coil (and Why It Matters)
Maintaining a clean HVAC system is crucial for optimal performance and energy efficiency. One of the most critical components of this system is the evaporator coil, which plays a vital role in cooling your home.
When coils become dirty, they can lead to reduced cooling capacity, higher energy bills, and potential system failures. Regular cleaning of these coils is a cost-effective maintenance task that homeowners can perform themselves.
This guide will walk you through the process of cleaning both evaporator and condenser coils, highlighting the importance of proper maintenance for improved air quality and extended equipment life.
Key Takeaways
- Regular coil cleaning improves HVAC system performance and energy efficiency.
- Dirty coils can lead to reduced cooling capacity and higher energy bills.
- Cleaning coils is a cost-effective maintenance task for homeowners.
- Proper coil maintenance can improve air quality and extend equipment life.
- Following safety precautions is crucial when working with HVAC equipment.
Why Cleaning Your HVAC Evaporator Coil Matters

Cleaning your HVAC evaporator coil is crucial for maintaining your system’s efficiency and overall performance. A dirty coil can lead to a multitude of issues that affect not only your comfort but also your wallet.
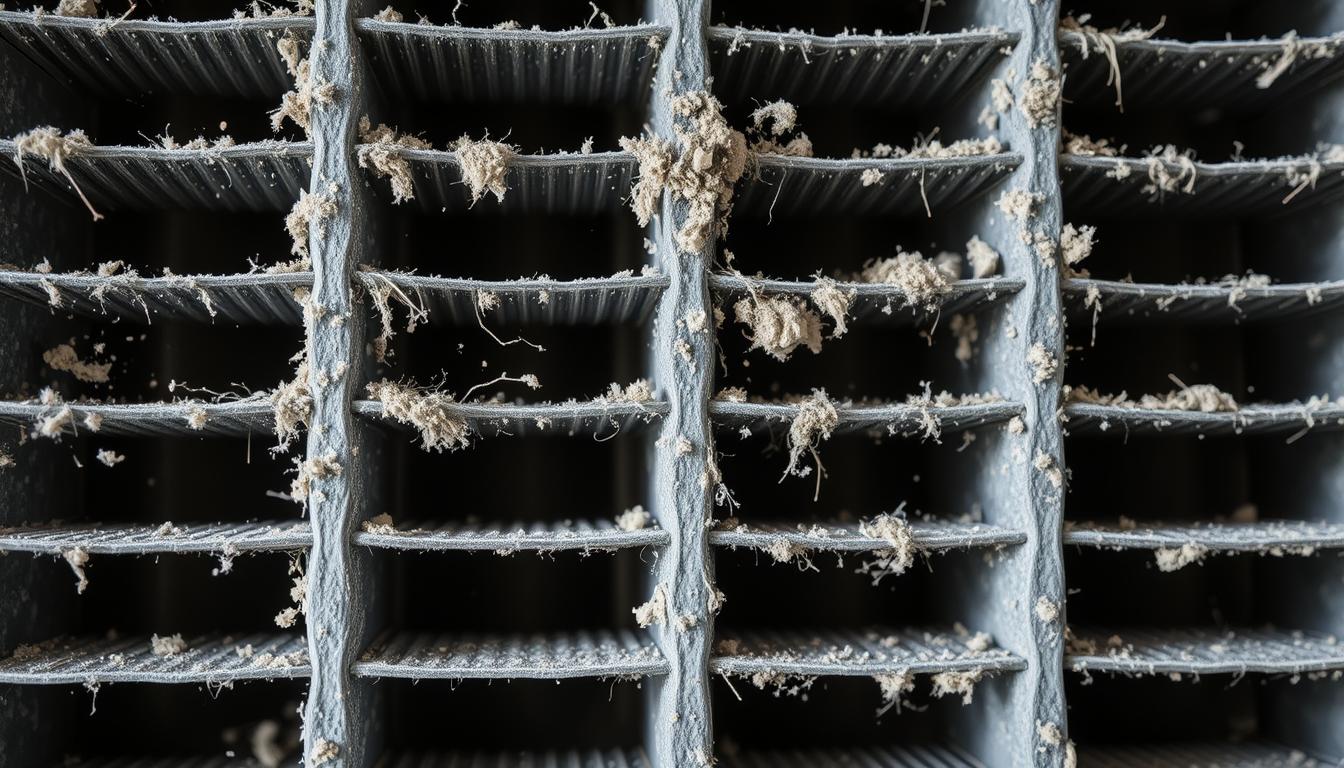
The Impact of Dirty Coils on Your HVAC System
Dirty coils accumulate dirt, dust, and debris over time, creating an insulating layer that hinders efficient heat transfer. This forces your HVAC system to work harder and run longer cycles to achieve the desired cooling effect, significantly increasing energy consumption.
Moreover, restricted airflow through dirty coils can cause the system to freeze up, potentially leading to compressor damage and costly repairs. Regular cleaning is essential to prevent these issues and ensure your system operates smoothly.
Energy Efficiency and Cost Savings
There’s a direct correlation between clean coils and lower utility bills. According to utility studies, regular AC maintenance, which includes cleaning coils, can improve AC efficiency by up to 30%. This translates to potential savings of hundreds of dollars annually, depending on your location and AC type.
| Maintenance Task | Impact on Energy Efficiency | Potential Savings |
|---|---|---|
| Cleaning Evaporator Coils | Improves efficiency by up to 30% | Hundreds of dollars annually |
| Regular AC Maintenance | Enhances overall system performance | Significant long-term savings |
By maintaining clean coils, you not only reduce your energy bills but also extend the lifespan of your HVAC system by reducing strain on its components. This simple maintenance task is crucial for both comfort and cost savings.
Understanding Your HVAC System’s Coils

Understanding the components of your HVAC system, particularly the evaporator and condenser coils, is vital for its optimal operation. These coils play a crucial role in the cooling process, and their maintenance is essential for the system’s efficiency.
What Is an Evaporator Coil?
The evaporator coil is typically located indoors, either in the air handler or attached to the furnace. It consists of copper tubing surrounded by aluminum fins. As air is blown over the coil, the cold refrigerant inside absorbs heat from the air, effectively cooling your home. This coil is a critical component in the cooling process, and its condition directly affects the overall performance of your HVAC system.
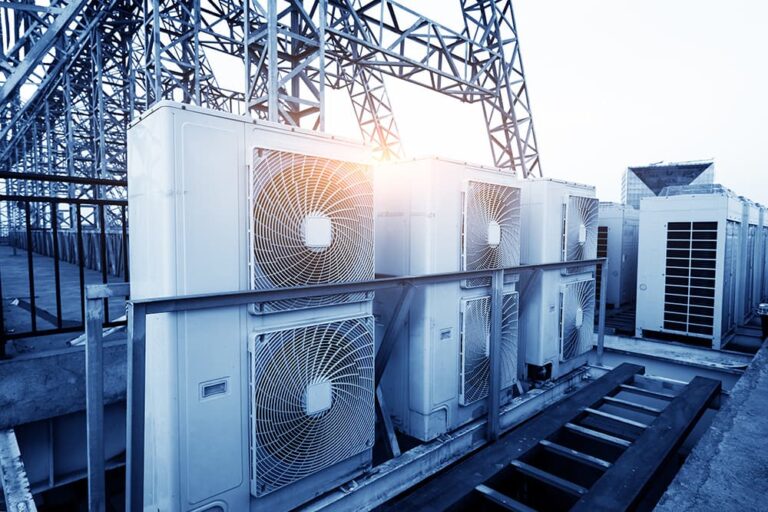
What Is a Condenser Coil?
The condenser coil, on the other hand, is located outdoors and is responsible for releasing the absorbed heat outside. This allows the refrigerant to cool down before it returns to the evaporator coil to repeat the cycle. The condenser coil is a vital part of the HVAC system, and its efficiency impacts the system’s ability to cool your home effectively.
How These Coils Work Together
The evaporator and condenser coils work in tandem to facilitate the cooling process. Warm air passes over the evaporator coil, transferring heat to the refrigerant. The heated refrigerant then travels to the condenser coil, where the heat is released outside. The cooled refrigerant returns to the evaporator coil, and the cycle repeats. This continuous process is essential for maintaining a comfortable temperature in your home.
| Coil Type | Location | Function |
|---|---|---|
| Evaporator Coil | Indoors (air handler or furnace) | Absorbs heat from indoor air |
| Condenser Coil | Outdoors | Releases absorbed heat outside |
Tools and Materials Needed for Evaporator Coil Cleaning

Before diving into the cleaning process, it’s essential to gather the necessary tools and materials to ensure a smooth and efficient operation. Having everything you need at hand will make the task less daunting and help you complete it effectively.
Essential Safety Equipment
When cleaning your HVAC evaporator coil, safety should be your top priority. You’ll need gloves to protect your hands from the sharp coil fins, safety glasses to shield your eyes from debris, and a mask to prevent inhaling dust and other particles, especially if you have respiratory sensitivities.
Cleaning Supplies and Tools
The basic tools required include screwdrivers (both flathead and Phillips), nut drivers (typically 1/4″ and 5/16″), and possibly a cordless drill for faster access panel removal. A soft bristle brush specifically designed for coil cleaning is also crucial to avoid damaging the delicate aluminum fins. Additionally, you’ll need access to water for rinsing, and a no-rinse evaporator coil cleaner or a DIY solution made from mild detergent mixed with warm water.
Commercial vs. DIY Cleaning Solutions
You can choose between commercial foaming coil cleaners, which are specifically formulated for HVAC coils, and DIY solutions like a mixture of mild detergent and warm water. While commercial cleaners are more effective, DIY solutions can be sufficient for light cleaning and are more economical for regular maintenance.
Step-by-Step Guide to Evaporator Coil Cleaning
To ensure your HVAC system runs efficiently, cleaning the evaporator coil is essential. This process involves several key steps that, when followed carefully, will help maintain your system’s performance and longevity.
Safety Preparations Before Starting
Before you begin cleaning your evaporator coil, it’s crucial to take necessary safety precautions. First, turn off the power to your HVAC system at the breaker panel. You’ll typically find two switches labeled “AC” and “furnace”; switch both off to ensure the system cannot accidentally start during cleaning. This step is vital for your safety.
Accessing Your Evaporator Coil
Next, you need to locate and access your evaporator coil. It’s usually found in the attic, closet, or crawlspace, often inside an air handler or attached to the furnace. To access the coil, you’ll need to remove the access panel, which is typically secured by screws. Take photos before disassembling to help with reassembly later.
The Cleaning Process
Cleaning the evaporator coil involves several steps:
Removing Debris and Hair
Gently remove any accumulated debris, dust, and pet hair using a soft bristle brush. Work from top to bottom to avoid pushing debris deeper into the coil. Be cautious, as the coil fins are sharp and can cause injury.
Applying Coil Cleaner
Apply coil cleaner evenly across the coil surface. Allow the foaming action to penetrate and loosen dirt without scrubbing the delicate fins. Always wear gloves when handling coil cleaner, as it can be acidic.
Rinsing the Coil
After applying the coil cleaner, rinse the coil thoroughly with clean water. You can use a spray bottle for this purpose. If it’s warm enough outside, you can also turn on your AC to utilize the condensation for rinsing. Ensure thorough rinsing to prevent residue buildup.
Reassembling Your Unit
Once the coil is clean and rinsed, reassemble the unit by replacing the access panel and securing it with screws. Restore power to your HVAC system at the breaker panel and test the system to ensure it’s working correctly.
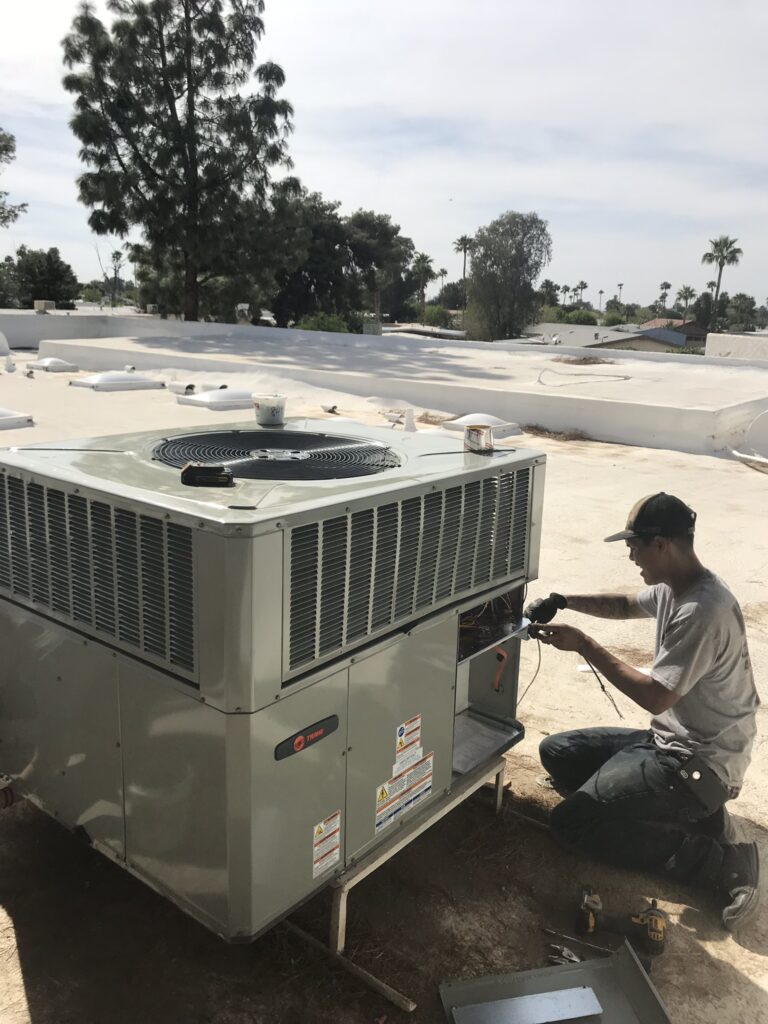
How to Clean Your Condenser Coil (The Outdoor Unit)
The condenser coil, being a vital component of your outdoor AC unit, requires periodic cleaning to ensure your air conditioning system operates efficiently.
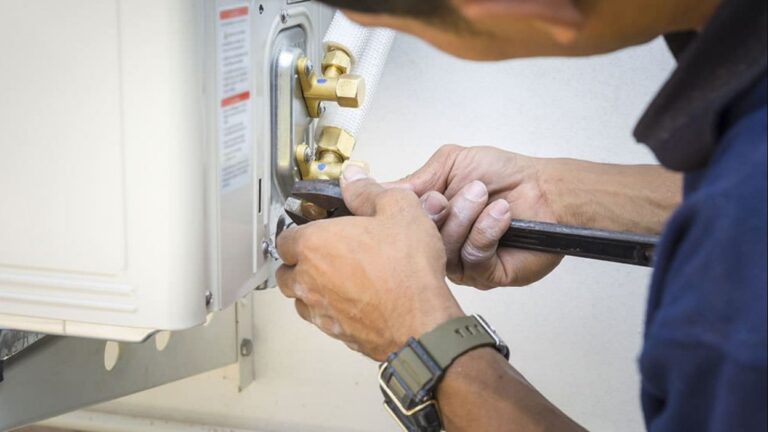
Preparing Your Outdoor Unit for Cleaning
Before you start cleaning, turn off the power to your AC unit at the breaker panel. This is a crucial safety step to avoid any accidents. Wait for a few minutes to allow the capacitors to discharge. Next, clear the area around the condenser unit by removing any vegetation, leaves, and debris within a 2-foot radius to ensure proper airflow.
Cleaning Process for Condenser Coils
Removing Debris and Straightening Fins
To access the condenser coils, you’ll need to remove the top grille and side panels. Keep track of all screws and hardware to make reassembly easier. Carefully remove large debris from the coil surface and use a fin comb to straighten any bent fins, which is crucial for optimal heat transfer and airflow.
Applying Cleaner and Rinsing
Apply a condenser coil cleaner, working from the inside out, and allow it to penetrate and loosen dirt according to the manufacturer’s instructions. Then, rinse the coil using a garden hose with moderate pressure. Avoid using a pressure washer, as it can damage the coil fins. Rinse from inside out and then outside in for thorough cleaning.
Finishing Up and Testing Your System
After cleaning, reassemble the unit by replacing all panels and securing fasteners. Allow the unit to dry completely before restoring power and testing its operation. This ensures that your condenser coil is clean and your AC unit is working efficiently.
| Cleaning Step | Purpose | Tools Needed |
|---|---|---|
| Remove Debris | Ensure airflow and heat transfer | Fin comb, gloves |
| Apply Cleaner | Loosen dirt and grime | Condenser coil cleaner |
| Rinse Coil | Remove dirt and cleaner | Garden hose |
Maintaining Clean Coils for Long-Term HVAC Performance
The longevity and efficiency of your HVAC system depend significantly on maintaining clean coils. Both evaporator and condenser coils play a crucial role in the system’s overall performance. To keep your HVAC running smoothly, it’s essential to establish a regular maintenance routine.
For most households, a deep clean of the coils once a year is sufficient. However, homes with pets or those located in high-pollution areas may require more frequent cleaning, ideally twice a year. One of the simplest ways to reduce coil contamination is by changing air filters every 1-3 months. Clean filters prevent dust and debris from reaching the coils, thereby reducing the strain on your HVAC system.
It’s also important to keep the area around outdoor units clear of debris, vegetation, and obstructions throughout the year. This ensures proper airflow and reduces the risk of condenser coil contamination. Additionally, scheduling professional HVAC maintenance once a year can complement your DIY cleaning efforts. Technicians can perform a more thorough cleaning and check refrigerant levels, ensuring your system operates efficiently.
Warning signs that your coils need immediate cleaning include reduced cooling performance, longer run times, unusual noises, or ice formation on refrigerant lines. By addressing these issues promptly, you can prevent more significant problems from developing.
Regular coil maintenance offers numerous long-term benefits, including extended equipment life, consistent comfort, lower energy bills, and fewer emergency repairs. Moreover, clean coils are a critical part of an energy-efficient home, working in tandem with proper insulation and air sealing to optimize HVAC performance and reduce environmental impact.
By incorporating these maintenance tips into your routine, you can ensure your HVAC system remains efficient and effective for years to come.